Why You Actually Need an Image Compressor
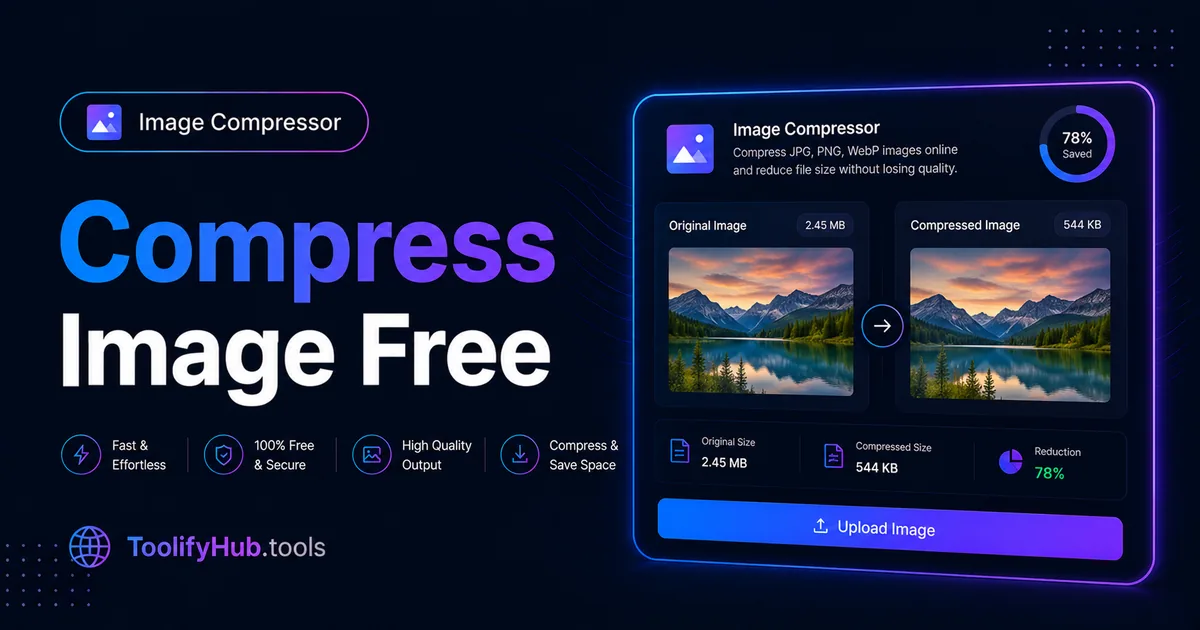
Compress JPG, PNG, and WebP images online without losing quality using ToolifyHub's free Image Compressor. Unoptimized, heavyweight images drastically slow down webpage loading speeds, waste mobile bandwidth, and trigger rejection errors on government and job application upload portals. Our tool leverages client-side HTML5 canvas quantization and WebP compression algorithms to remove redundant image metadata and invisible color variations while preserving crystal-clear sharpness, contrast, and transparent layers.
Unlike third-party cloud tools that require uploading your photos to remote servers, ToolifyHub operates 100% inside your web browser. Batch compress dozens of images at once, customize quality with quick preset controls (50%, 75%, 85%), lock aspect-ratio dimensions, and download your optimized files individually or packed into a convenient single ZIP archive.
Why Use ToolifyHub.tools?
Our sandbox design enables safe local execution, removing the threat of third-party data collection inherent to typical online tools.
🔒 100% Privacy-First Sandbox
This tool runs entirely inside your browser. No files or inputs are sent to any external server.
❌ No Sign-Up or Accounts
Enjoy instant, anonymous access to all features without sharing email or credentials.
⚡ High-Speed Local Rendering
Optimized client-side rendering ensures near-zero processing wait times.
🎁 Free Forever with Zero Caps
Supported exclusively by simple display advertisements, keeping premium tools accessible to everyone.
How to Use the Image Compressor on ToolifyHub.tools
- 1
Select or Drag Images
Upload one or multiple JPG, PNG, or WebP files from your device. Images process directly in browser memory without server uploads.
- 2
Choose Mode & Target Size
Choose Target File Size mode for exact portal limits (20KB, 50KB, 100KB, 200KB), or Quality Percentage mode (50%, 75%, 85%, 95%) for visual tuning.
- 3
Inspect Live Savings & Compare
Review original file size vs compressed file size, calculated percentage savings, and click Compare to inspect before and after visual clarity.
- 4
Download Files or ZIP Archive
Save individual images instantly or click 'Download All (.zip)' to export the entire batch in a single archive with no watermarks.
Real-World Scenarios Where This Saves You
Passport, Visa & Government Portal Applications
An applicant needs to submit a passport photo and signature under a strict 50KB or 20KB limit. By choosing Target KB mode with the 50 KB chip, the files pass portal validation instantly without blurry artifacts.
E-Commerce Store Optimization (Shopify & WooCommerce)
A merchant is publishing 40 new product photos. Compressing each 4MB image down to under 200KB reduces total catalog weight from 160MB to 8MB, improving mobile conversion rates and Google Core Web Vitals (LCP).
Bloggers & Content Publishers
A tech blogger optimizes dozens of screenshot PNGs before embedding them in WordPress guides, saving gigabytes of host storage and keeping page load times well under two seconds.
Common Mistakes to Avoid
How We Tested This Tool
To guarantee complete accuracy and reliability, our engineering and QA team validates the Image Compressor regularly against:
- Cross-Browser Compatibility: Verified on standard releases of Google Chrome, Apple Safari, Mozilla Firefox, and Microsoft Edge.
- Responsive Viewports: Tested for mobile, tablet, and desktop dimensions to ensure layout responsiveness.
- Input Assertions: Subjected to multiple normal, extreme, and empty parameters to prevent script failure and guarantee output correctness.
Local Browser Sandbox vs. Cloud Tools
| Metric | ToolifyHub Sandbox | Typical Cloud Services |
|---|---|---|
| File Upload Risks | None (0% upload rate) | High (transmits data to remote servers) |
| Execution Cost | Free forever (No limits) | Subscription-gated or limits applied |
| Data Retention Policy | Immediate deletion on page close | Retained in cloud buckets or server logs |
| Processing Latency | Sub-second client execution | Network upload & queuing delays |